The weak version of Halloween decorating is easy to recognize: a few black objects spread across rooms that still look exactly the same. A good setup changes the experience of the house. Guests meet a flock of paper bats at the door, discover a crooked family archive over the mantel and end up at a candy counter that feels assembled by a slightly eccentric neighbor. You do not need a warehouse of props. You need one story, four useful scenes and enough repetition to connect them. The plan below works with normal furniture, normal lighting and the fact that people still need to walk through the room.
Write a one-sentence story before buying anything
Give the house a premise you can explain without a mood board. Try ‘an old neighborhood Halloween party,’ ‘a botanist's abandoned pantry’ or ‘friendly ghosts moved into the library.’ Then choose three materials already suited to that story. Faded paper, amber glass and black metal work for the old-neighborhood version. Cheesecloth, pale pumpkins and worn wood suit the friendly ghosts. Pull every Halloween item you own into one room and remove anything that fights the sentence. This edit is where the look begins. A glitter sign may be perfectly fine on its own and still be wrong beside a sepia portrait and tarnished candlesticks. Put the rejected pieces away. The whole collection does not need to come out every year.
Scene one: a vintage Halloween entry that stays walkable
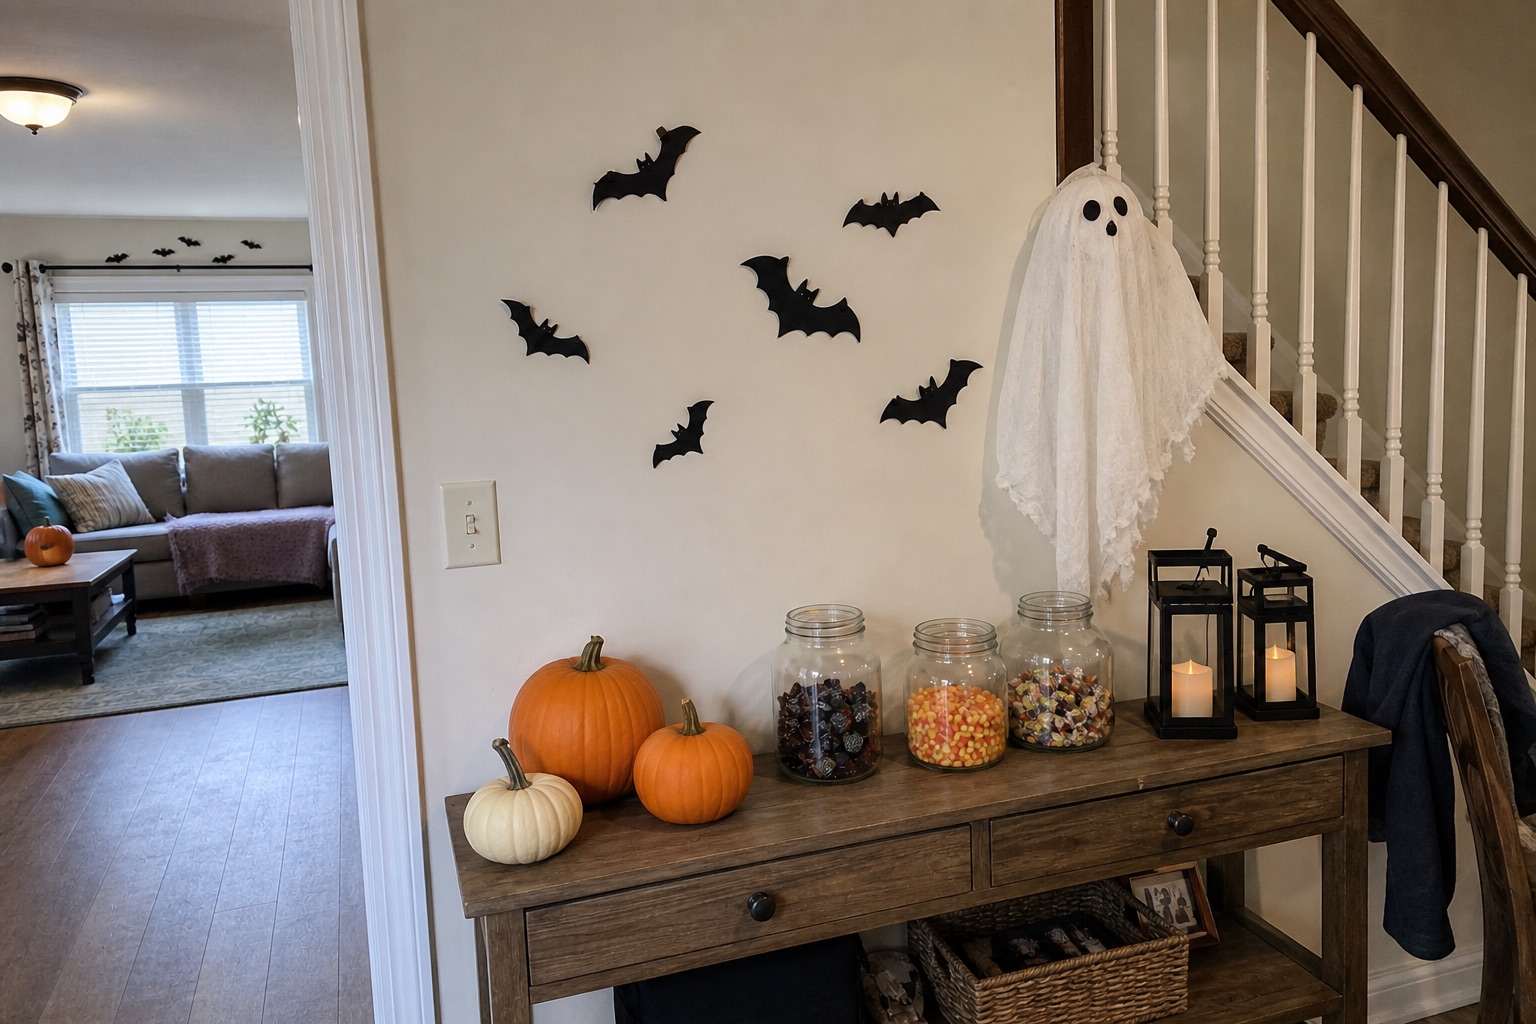
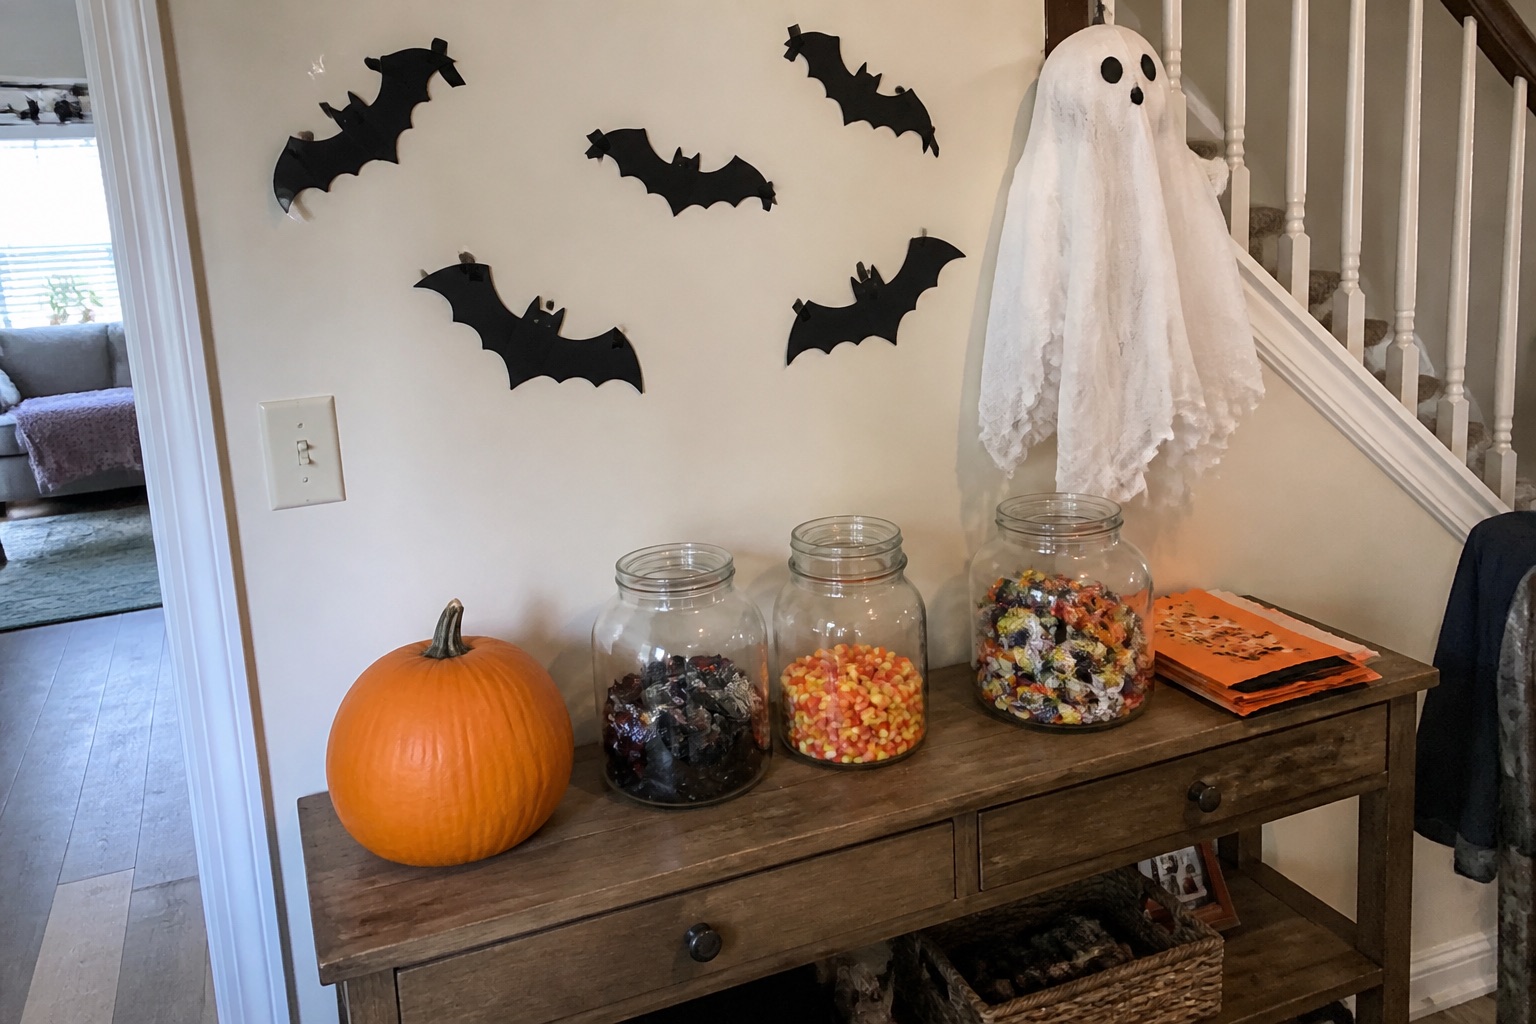
Start by carrying a grocery bag through the entry. Anything your foot, elbow or bag catches has to move. The U.S. Consumer Product Safety Commission advises clearing obstacles from steps, lawns and porches before trick-or-treaters arrive, and the same test helps indoors. Keep the floor arrangement against one wall, then take the display upward. Tape a loose flock of paper bats from the console toward a mirror, lean one odd portrait at the back and group three pumpkins with different heights at one end. A lamp or battery lantern should light the key bowl and the decorations. Empty two hooks and one section of the console before you finish. The scene should welcome coats and candy buckets, not compete with them.
 ⬤ Save
Scene two: build a haunted family archive on the mantel
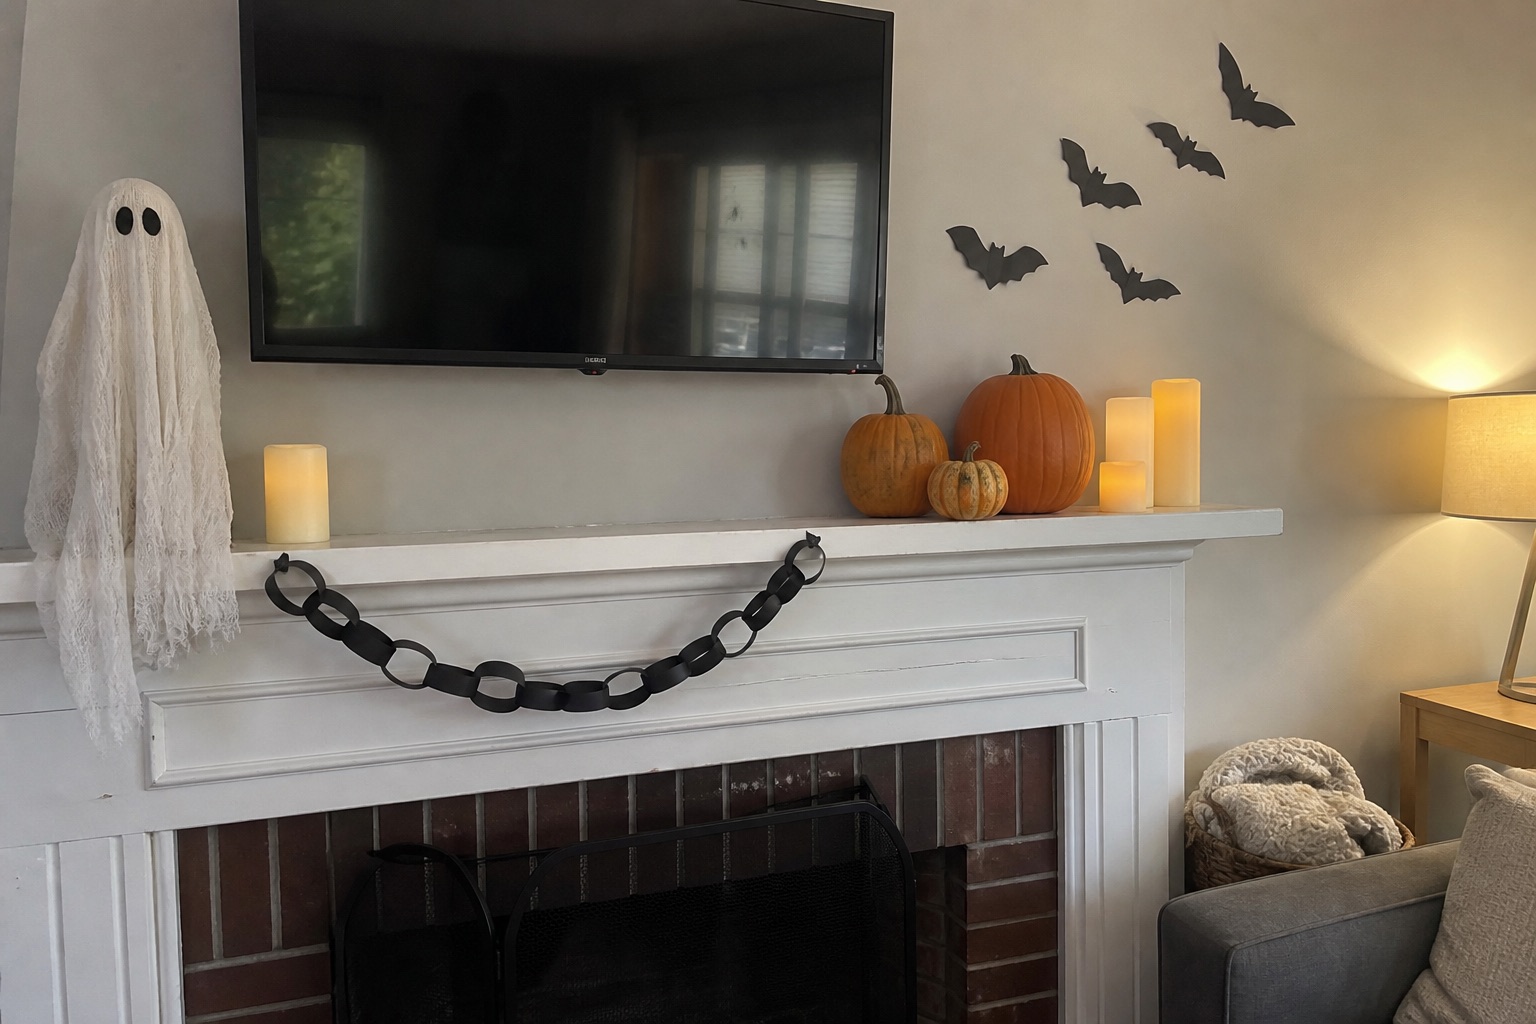
Let one indoor surface carry most of the drama. Begin with a large mirror, thrifted frame or printable portrait at the back. Add a second frame partly in front of it so the arrangement looks as if it gathered over time. Run dark faux vines across one side only, then place three lights at uneven heights. Finish with a small group of cheesecloth ghosts or paper honeycomb pumpkins near the low end. Step into the doorway and look at the outline. You should see one strong mass and one patch of breathing room. If every inch is filled, remove the smallest objects first. Tiny props make a mantel busy up close and weak from across the room. A few larger shapes read better in the house and in a Pinterest photograph.
Scene three: make a candy apothecary people can actually use
Choose four to six clear jars with noticeably different shapes, then fill them with wrapped candy in separate color families. Raise two jars on a wood riser or a short stack of old books. Keep the heaviest jar at the back and anything glass away from the counter edge. Put paper treat bags, scoops or tongs and a small waste bowl together on the open side. That empty patch of counter is part of the design because a child or guest needs somewhere to hold a bag. Skip invented potion labels unless you enjoy making them by hand. Striped bags, dark scoops, amber lights and the candy itself already tell the story. Before the party, fill one bag while wearing a bulky sleeve. If you knock into the display, widen the working space.
 ⬤ Save
Scene four: turn the porch into a treat stop, not an obstacle course
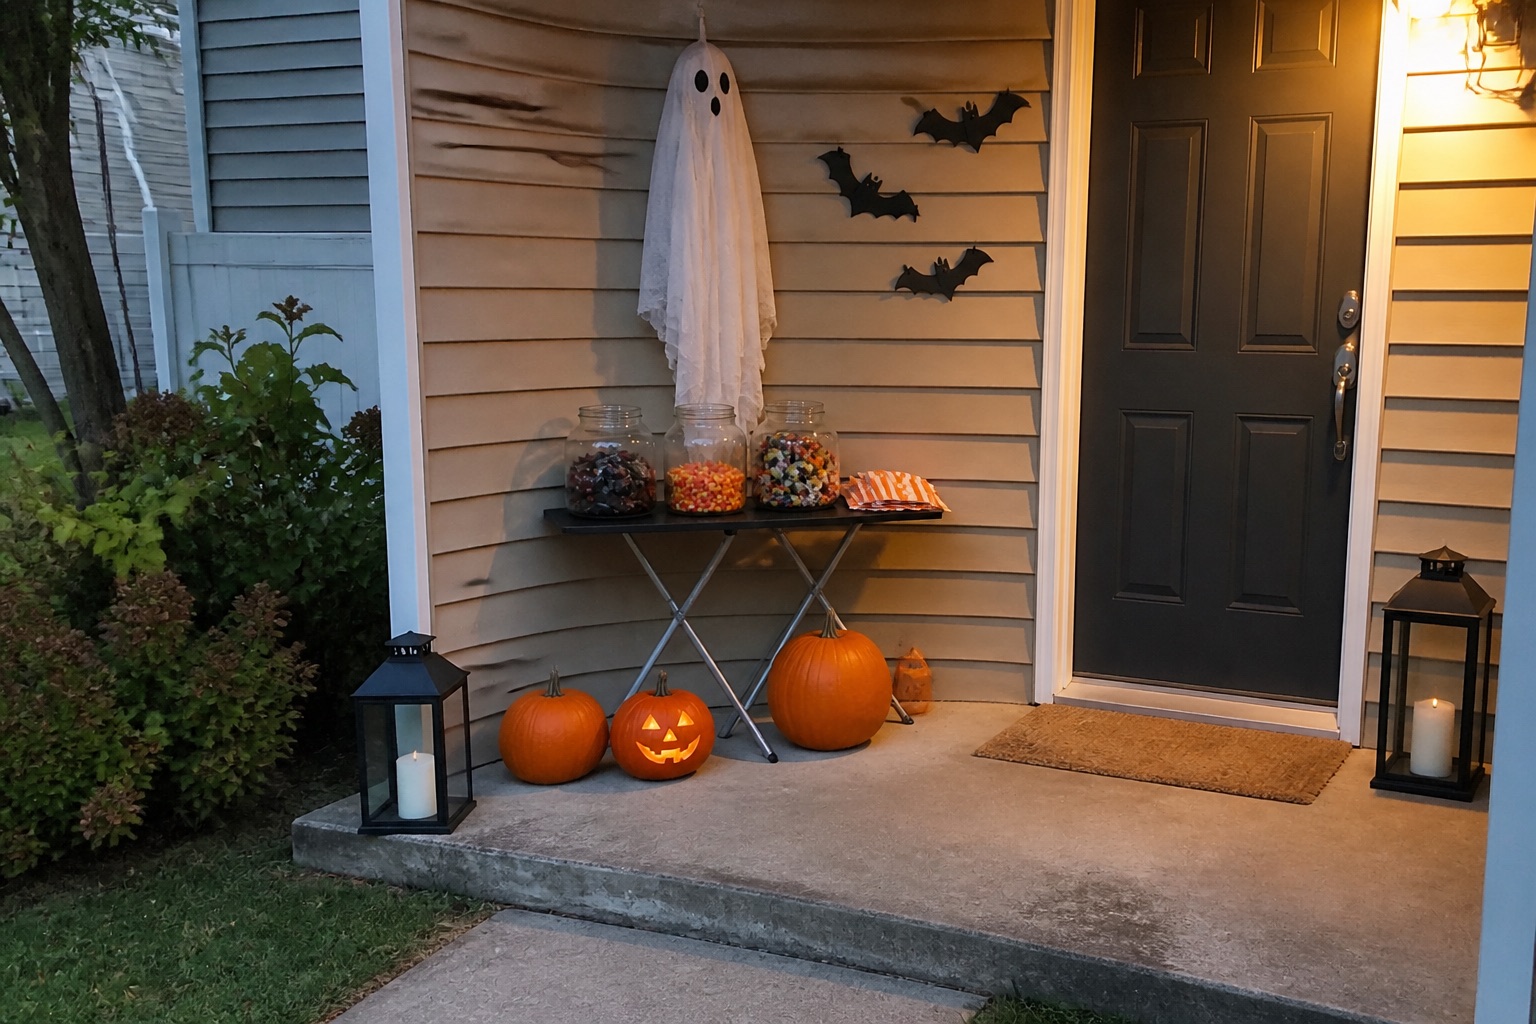
Build the porch around the route from sidewalk to candy. Sweep the steps, move planters that narrow the landing and check the path after dark. Put stacked pumpkins and lanterns to one side of the door, where costumes cannot brush them. Set the treat jar or basket on a waist-high table so nobody has to reach past a candle or fragile prop. A paper backdrop, hanging ghost or swarm of bats gives the wall enough scale to show from the street. Add a second candy container under the table for quick refills. In CPSC's three-year injury estimate, pumpkin carving accounted for 55% of Halloween-related emergency department injuries, so leave the cutting to adults. Battery-operated lights keep the finished jack-o'-lantern visible without putting an open flame beside loose costumes.
Connect the rooms with one repeated clue
Once the four main scenes are built, stop adding new themes. Repeat one clue in two or three smaller places. The entry bats might reappear above the bathroom mirror and beside the candy jars. Amber glass can move from the mantel to the coffee counter. A pair of small ghosts can sit on the bookshelf and at the foot of the stairs. Keep these secondary moments compact enough to clean around. In a bathroom, one tray with soap, an amber bottle and a tiny pumpkin is plenty. In the kitchen, hang paper pieces on the backsplash or cabinet and leave the prep counter clear. Repetition lets inexpensive handmade pieces connect the house without asking every room to become a full set.
 ⬤ Save
Light the scene without creating a Halloween hazard
Keep enough room light to see faces, steps, candy and paper details. Then add smaller pools of glow with shaded lamps, battery candles and tested decorative light strings. CPSC recommends checking old and new strings for cracked sockets, bare wires and loose connections, and discarding damaged sets. Battery lights are the sensible choice around paper, cheesecloth, children and pets. If you use a real candle, NFPA advises keeping it at least one foot from anything that can burn and blowing it out before leaving the room. Do the final check at the same hour guests will arrive. The scene should feel shadowy, but nobody should need a phone flashlight to find a step or read the candy choices.
Photograph the setup and store it as four projects
Take one wide photo and one close photo of each finished scene before the first guest arrives. After Halloween, store the pieces by project. The entry kit gets its removable hooks, paper bats and spare tape. The mantel kit gets frames, vines and battery candles. Keep candy scoops and folded bags with the apothecary tray. Label each box with the room and include a printed photo or a note on your phone about what ran out. Next year, you can rebuild the bones of the display in an afternoon and change one part, such as the portrait, candy colors or porch figure. Labeled kits and a visual record give you a usable plan. A box of forty unrelated seasonal objects does not.